


 Visit me again for candies !


Button Wreath & Bonifacio
Saturday, November 30, 2013 posted at 11/30/2013 07:46:00 PM ♥ 0 comments
Christmas is closing in, and I'm a little embarrassed to say that our home doesn't have a touch of the holiday season yet. In fact, it is like our usual place. Way back the 90s, our home was one of the residences here in our barangay that decorate and set up Christmas tree as early as November. I remember getting excited about decorating.
But times changed. When my brothers started to have their own families, I think they took away our urge and joy of setting up our Christmas decors. Last 2011, I bought a Santa Clause light decor so will have something to remind us of Christmas. I expect it would like until 2015, but after two years of giving some much needed light on our balcony, it malfunction this year. I guess you can't really trust the things your co-worker offers you.
Anyway, to gear up for the holidays, me and my mother decided to do something to "Christmascify" our home. Since we are tried of setting up a Christmas tree, we opt for our DIY wreath and Christmas Parol. My mother is a master crafter. She can practically do anything and use anything and in the end it will turn out great. My skills in crafting will never ever get to hear level. Since she knows better, she's the one who's making the Parol and I will be in charge of the wreath. And because we have a lot of buttons in our house, we decided to make a wreath using the colorful buttons.
I was inspired by the idea I saw in PH Learning, a Facebook page which sells stuff that can be use for crafting. They also post several craft works that serve as an inspiration for many craft lovers out there. I tried to recreate their button wreath, but I know that it is far from the expected results.
 | ||||
| Photo from PH Learning |
- Buttons (different sizes and colors)
- Glue gun and glue stick
- a circular board
- Ribbons
Steps
1. Wrap your circular board with the ribbon. Carefully glue the end of the ribbon and stick them to the board.
2. Carefully place the buttons and glue them on the board
Pretty simple, right?
Well, here's my masterpiece:

Today is Bonifacio Day. To those who have no access to the Internet or living on a rock, this day is named after Andres Bonifacio, leader and founder of the revolutionary group Katipunan. Ka Andres, as what the historians fondly called him, was known for his bravery. But sadly, he is also a victim of early politics when General Emilio Aguinaldo, one of the his comrades in Katipunan, ordered his execution.
But for me, Andres Bonifacio is truly the first President of the Republic of the Philippines. I don't think a person who claimed to love the Philippines and sold it overnight to the Americans should be considered a president. But we cannot undo the past. All we can do is honor Bonifacio's heroism and let his ideals live within every Filipino.
Labels: craft or crap?, Filipinos, Philippines

DIY T-shirt Necklace
Sunday, March 31, 2013 posted at 3/31/2013 12:57:00 PM ♥ 0 comments
Hmmm. Happy Easter Sunday people! I hope everyone is having a blast! And in the spirit of Easter, I would like to share something to you. DIY T-shirt necklace. I've already seen this on TV and I'm very interested to know how is it done.
Well, what I've done is quite simple compare to what some pieces I saw on the Net. Promise I will try to harder! Hehe.
Okay, to do this you need the following
- an old T-shirt
- scissors


Step 1.
Lay the shirt on a flat surface. And cut the bottom part of the shirt

Step 2
Cut the shirt in stripe pieces, 1-inch in size


Step 3.
Pull and stretch each stripe to make a tube stripe piece


Step 4.
Put all the stripes together
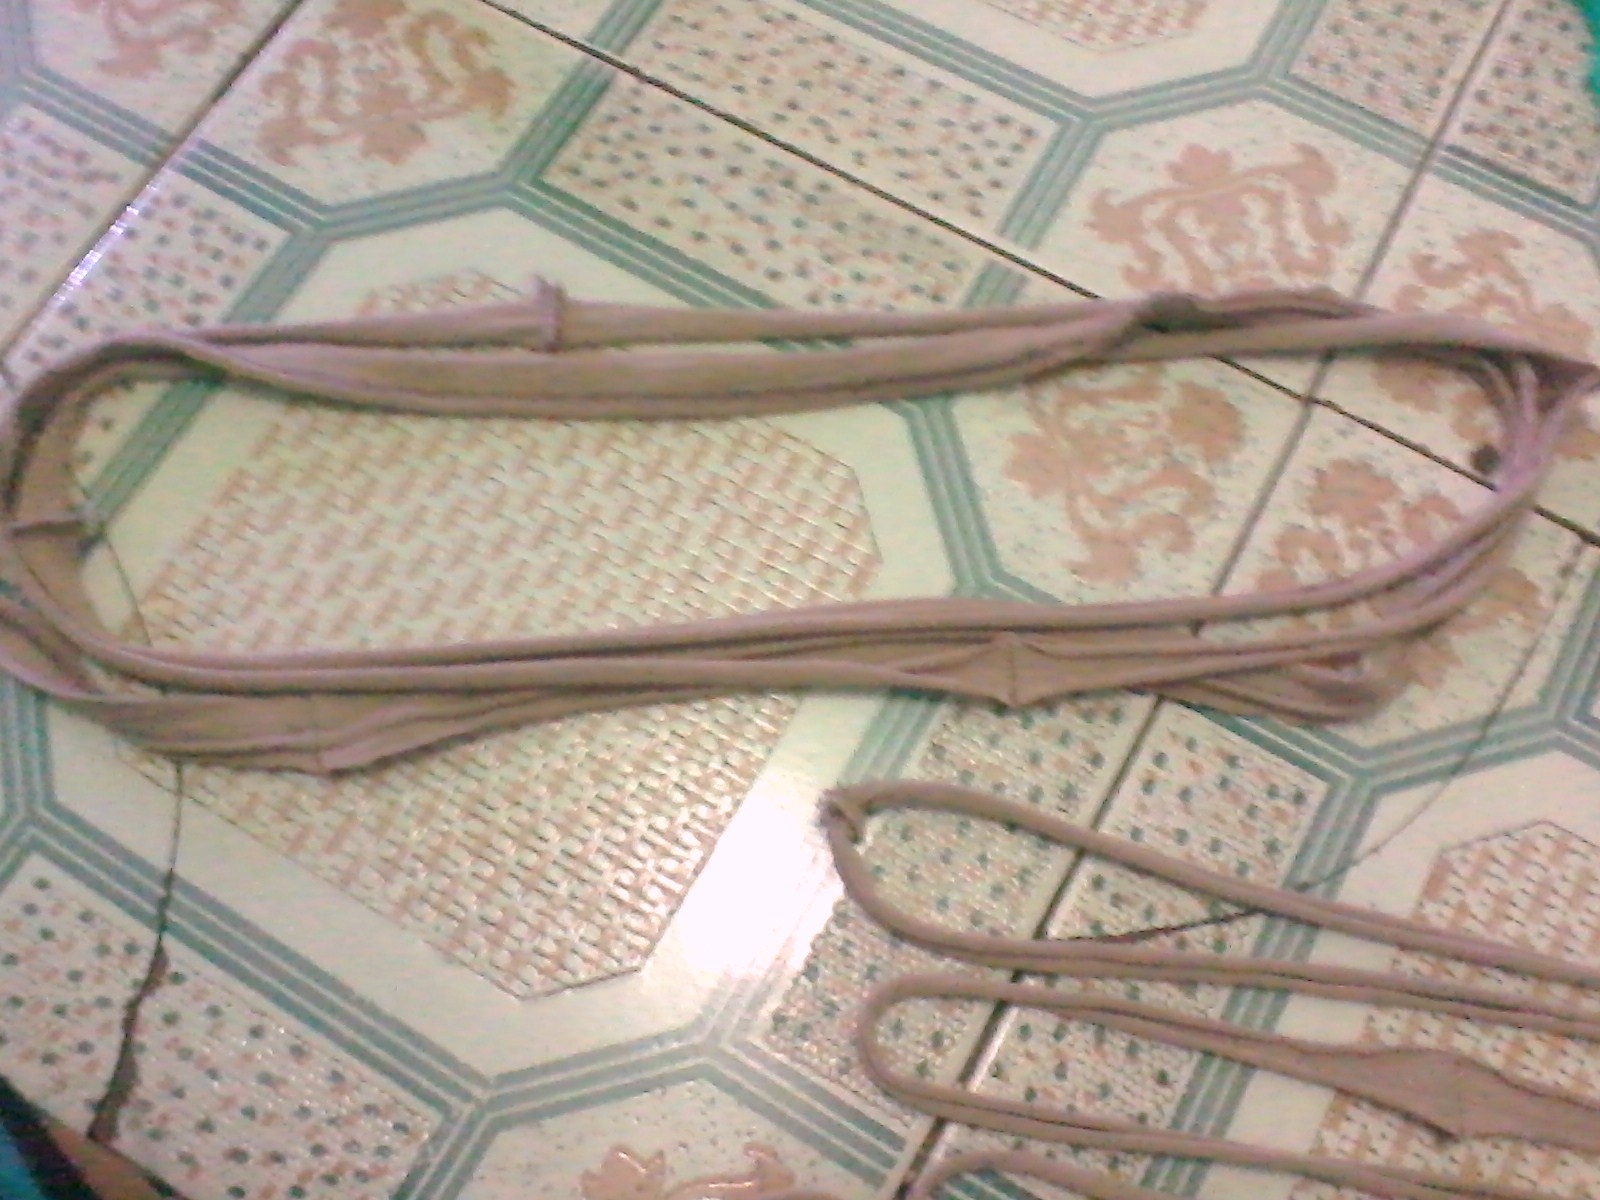

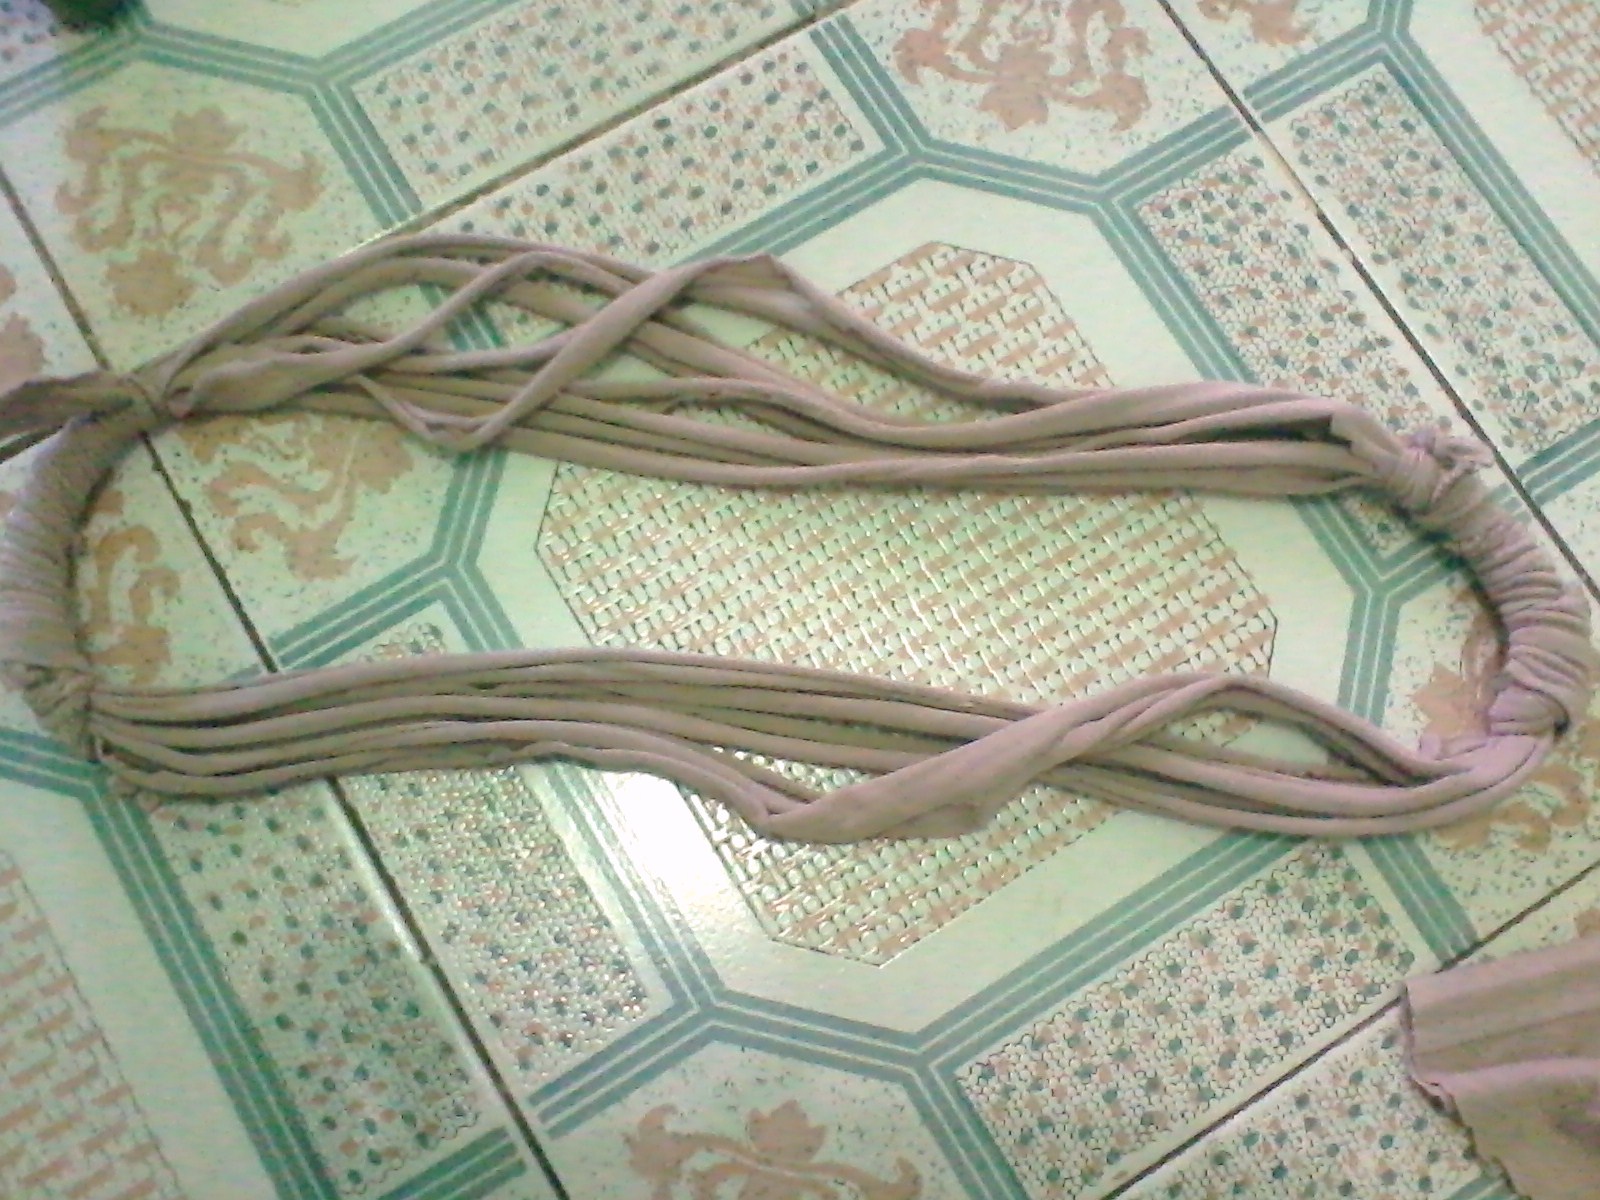
Tie each end of the piled striped using the bottom part of the shirt that you cut earlier


Step 6
Do the same on the other side. Once you are done, stretch the necklace and you are all set!

xo kopi princess
Labels: craft or crap?
Finger Art
Sunday, January 27, 2013 posted at 1/27/2013 08:15:00 PM ♥ 0 comments

Just refreshing my photo-editing skills while waiting for my kopi. What do you think?
Labels: craft or crap?
Buttons and boredom
Sunday, September 16, 2012 posted at 9/16/2012 11:39:00 AM ♥ 0 comments

Labels: craft or crap?